
When considering a vehicle purchase, especially a used one, the condition of its tires, brakes, and suspension systems directly impacts safety, performance, and long-term running costs. A thorough pre-purchase inspection of these critical components can prevent significant repair expenses and ensure the vehicle meets basic operational standards. Understanding what to look for allows a buyer to assess a vehicle's true condition beyond its cosmetic appeal, informing negotiation and mitigating future risks.
Tires: Assessing Wear and Integrity
Tires are the sole point of contact with the road, making their condition paramount for safety and handling. Beyond simple tread depth, a comprehensive evaluation includes sidewall integrity and manufacturing date.
- Tread Depth: Use a tread depth gauge or the "penny test." Insert a penny into the deepest part of the tread with Lincoln's head upside down. If you can see the top of Lincoln's head, the tread is likely below 2/32 inch, indicating replacement is necessary. Most tires also have tread wear indicator bars molded into the grooves; if the tread is flush with these bars, the tire is worn out.
- Wear Patterns: Examine the tread across the entire width of each tire. Uneven wear can signal underlying mechanical issues. Wear concentrated on both edges suggests underinflation, while wear in the center indicates overinflation. Scalloping or cupping (uneven dips around the circumference) often points to worn suspension components or improper balancing. Wear on only one side of the tire typically indicates an alignment problem.
- Sidewall Condition: Inspect for cracks, bulges, cuts, or punctures. Cracks, especially deep ones, can indicate dry rot due to age or sun exposure, compromising structural integrity. Bulges suggest internal damage, where the tire's internal cords have broken, creating a weak spot prone to blowout.
- Tire Age (DOT Code): Locate the DOT code on the sidewall, which includes a four-digit date code (WWYY). The first two digits represent the week of manufacture, and the last two represent the year. Tires older than six years, regardless of tread depth, should be viewed with caution as the rubber compounds degrade over time, increasing the risk of failure.
Brakes: Evaluating Stopping Power
The braking system is fundamental to vehicle safety. A visual and functional check can reveal immediate maintenance needs or impending failures.
- Rotor Condition: Inspect the brake rotors (the shiny metal discs behind the wheel). They should appear smooth and free of deep grooves, scoring, or excessive rust. A pronounced lip on the outer edge of the rotor indicates significant wear and suggests the rotors may need replacement soon. Blue or discolored spots can signify overheating.
- Brake Pad Thickness: If visible through the wheel spokes, check the thickness of the brake pads. New pads are typically around 10-12mm thick; anything below 3-4mm indicates they are nearing the end of their service life. Some vehicles have wear indicators that produce a squealing sound when pads are low.
- Brake Fluid: Open the hood and locate the brake fluid reservoir. The fluid level should be between the "min" and "max" lines. Note the fluid's color; clear or light amber is normal, while dark brown or black fluid suggests contamination or age, indicating a flush is overdue.
- Test Drive Assessment: During a test drive, pay close attention to brake pedal feel. It should be firm, not spongy or excessively hard. The vehicle should stop smoothly and in a straight line without pulling to one side. Pulsation felt through the pedal or steering wheel during braking often points to warped rotors. Any grinding, squealing, or clunking noises during braking are red flags.
Suspension: Detecting Ride Quality and Control Issues
The suspension system affects ride comfort, handling, and tire wear. Identifying worn components can prevent a cascade of related issues.
- Visual Inspection of Shocks/Struts: Look for fluid leaks around the shock absorbers or struts. A greasy, oily residue indicates a failing seal, meaning the component is no longer effectively dampening suspension movement.
- Bushings and Boots: Inspect rubber bushings (found at connection points for control arms, sway bars, etc.) for cracks, tears, or excessive wear. Damaged bushings can lead to clunking noises and imprecise handling. Check the condition of protective boots around ball joints and tie rod ends; if torn, dirt and moisture can enter, accelerating wear.
- Bounce Test: Push down firmly on each corner of the vehicle, then release. The vehicle should rebound once or twice and then settle. If it continues to bounce excessively, the shock absorber or strut at that corner is likely worn out.
- Test Drive Assessment: Drive over bumps, potholes, and uneven surfaces. Listen for clunking, rattling, or squeaking noises, which can indicate worn bushings, ball joints, or loose components. Observe the vehicle's body control; excessive body roll in turns, nose-diving during braking, or squatting during acceleration suggest compromised suspension. Steering should feel direct and responsive, without excessive play or looseness.
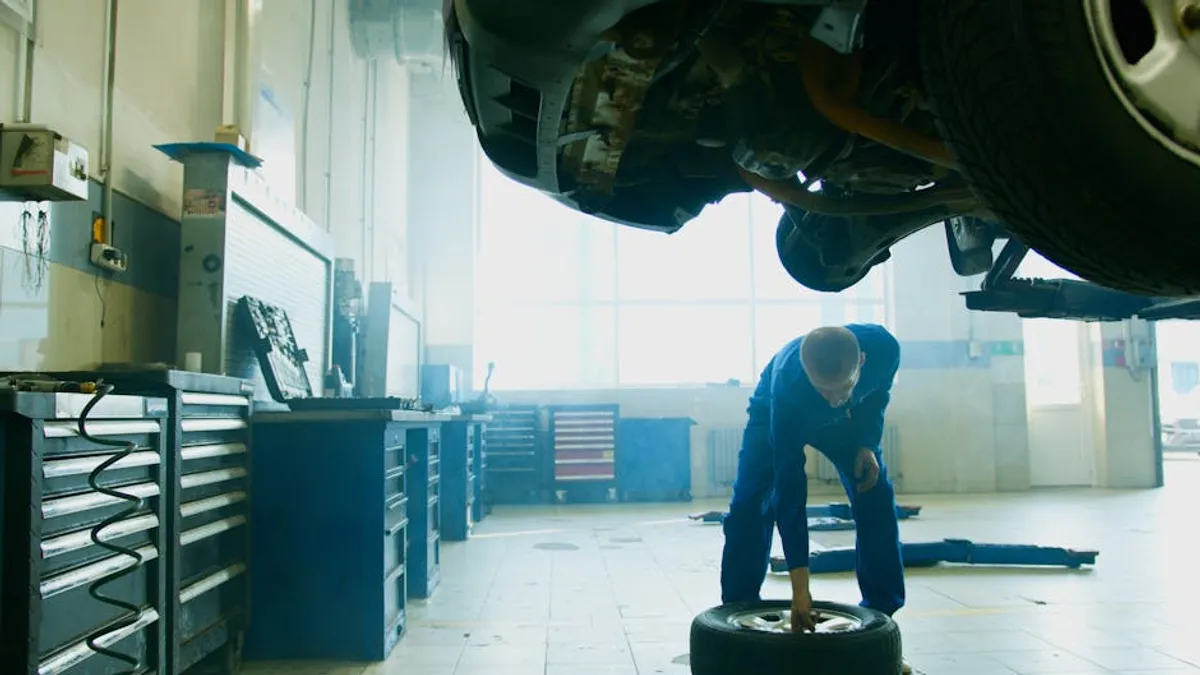
Pro Tip: While these checks provide a strong foundation, they are not a substitute for a professional pre-purchase inspection by a certified mechanic. A mechanic can place the vehicle on a lift, allowing for a more thorough examination of undercarriage components, often identifying issues not visible during a casual inspection. This professional assessment provides an objective evaluation and can be a valuable negotiation tool.
Informed Decisions for Vehicle Acquisition
Diligent inspection of tires, brakes, and suspension before purchasing a vehicle provides critical insights into its mechanical health and potential future expenses. This proactive approach ensures a safer investment and helps avoid unexpected repair costs shortly after acquisition. Use these observations to negotiate a fair price or to walk away from a vehicle that presents too many immediate liabilities.
Frequently Asked Questions
Can I perform these checks myself without special tools?
Many of these visual and tactile checks, like the penny test for tires or the bounce test for suspension, can be performed with minimal or no tools. However, assessing brake pad thickness or deeply inspecting bushings often benefits from a flashlight and some basic mechanical understanding.
What if I find minor issues during my inspection?
Minor issues, such as slightly worn tires or brake pads nearing replacement, are common in used vehicles. These can be factored into your negotiation. Significant issues, like fluid leaks from shocks or deeply scored rotors, warrant more serious consideration and potentially a professional inspection to determine the full extent of the repair.
How much does a professional pre-purchase inspection typically cost?
Costs vary by region and mechanic, but a comprehensive pre-purchase inspection typically ranges from $100 to $200. This investment can save you thousands in unexpected repairs down the line by uncovering hidden problems.
Should I still get a professional inspection if I've done my own checks?
Yes, a professional inspection is highly recommended. Mechanics have specialized tools, lifts, and expertise to identify issues that an amateur might miss, especially those related to the undercarriage, frame, and complex electronic systems.